PET Bottle to Filament project
Take an ordinary PET bottle and process it for reuse as filament for FFF printing.
Abstract
There are many PET bottle processing videos on various 3D printing and social video-sharing sites.
They all rely on spiral slicing the uniform thickness portion of the bottles into a ribbon. It is then roll-formed (not extruded) into a tube.
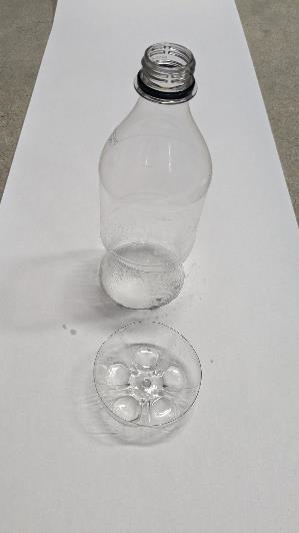
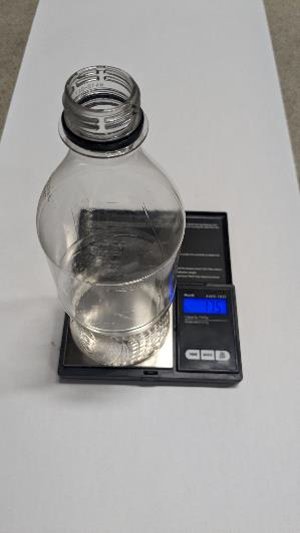
The bottom and top of the bottle have a variable thickness which doesn’t support the roll-forming process. It relies on having a constant thickness and width ribbon – so these portions are discarded/recycled.
Many versions of this process leave out the minor details or the full start-to-finish sequence needed to decide if it’s worth doing.
The goal is to determine if this is a viable process.
Basic Process Overview
PET soda bottles are cut into ribbons of constant width, based on the thickness of the bottle walls, to achieve a cross-sectional area less than that of 1.75mm filament.
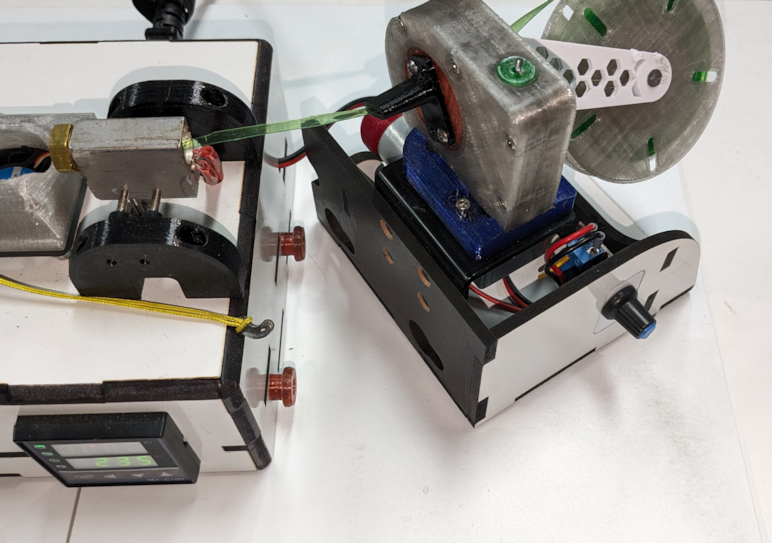
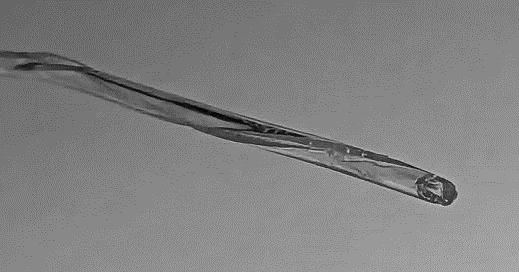
The ribbon is pulled through a hot end with a 1.75mm nozzle @ roughly 235C and formed into a tube. The temperature is only hot enough to allow the flat ribbon to be re-shaped and still be able to be pultruded without stretching in length.
The filament is then wound onto a spool and used in an FDM printer.
The printing temp for PET is roughly 275C with 30% fan to minimize stringing. The bed temperature should be 80C to prevent warpage or detaching during printing. Calibrating the Extrusion Multiplier is required due to the hollow filament. 110% is a good starting point.
Watch this video and visit this site.
However, I found some basic issues that needed to be resolved >>>>
Process Visualized
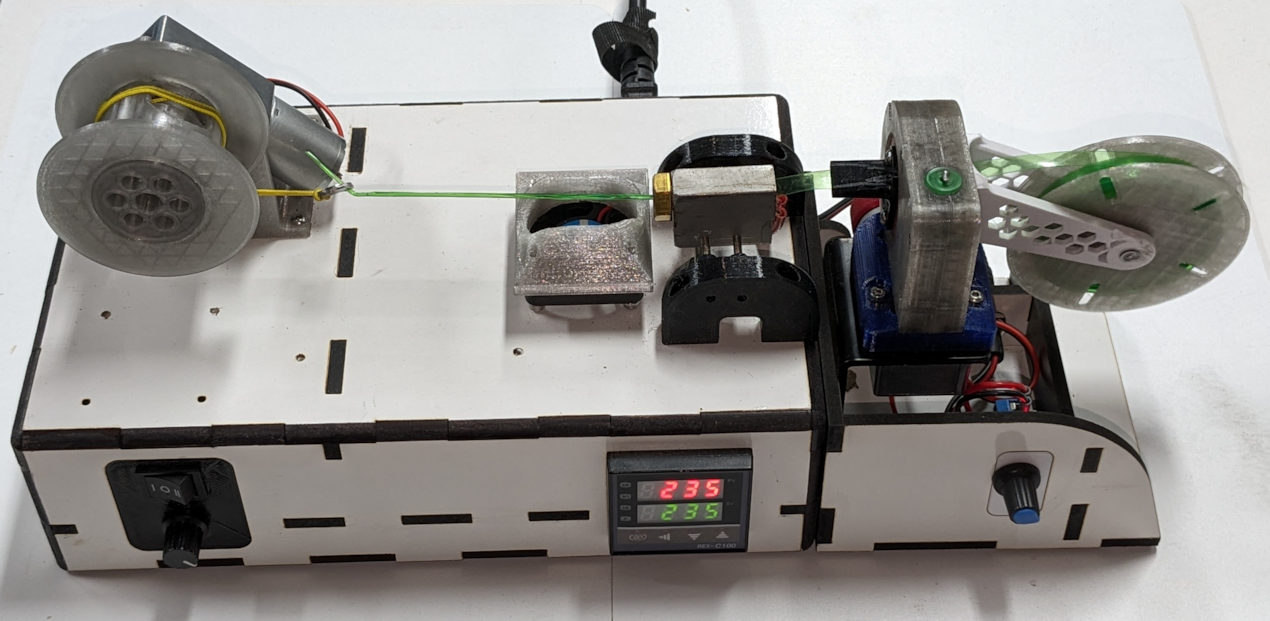
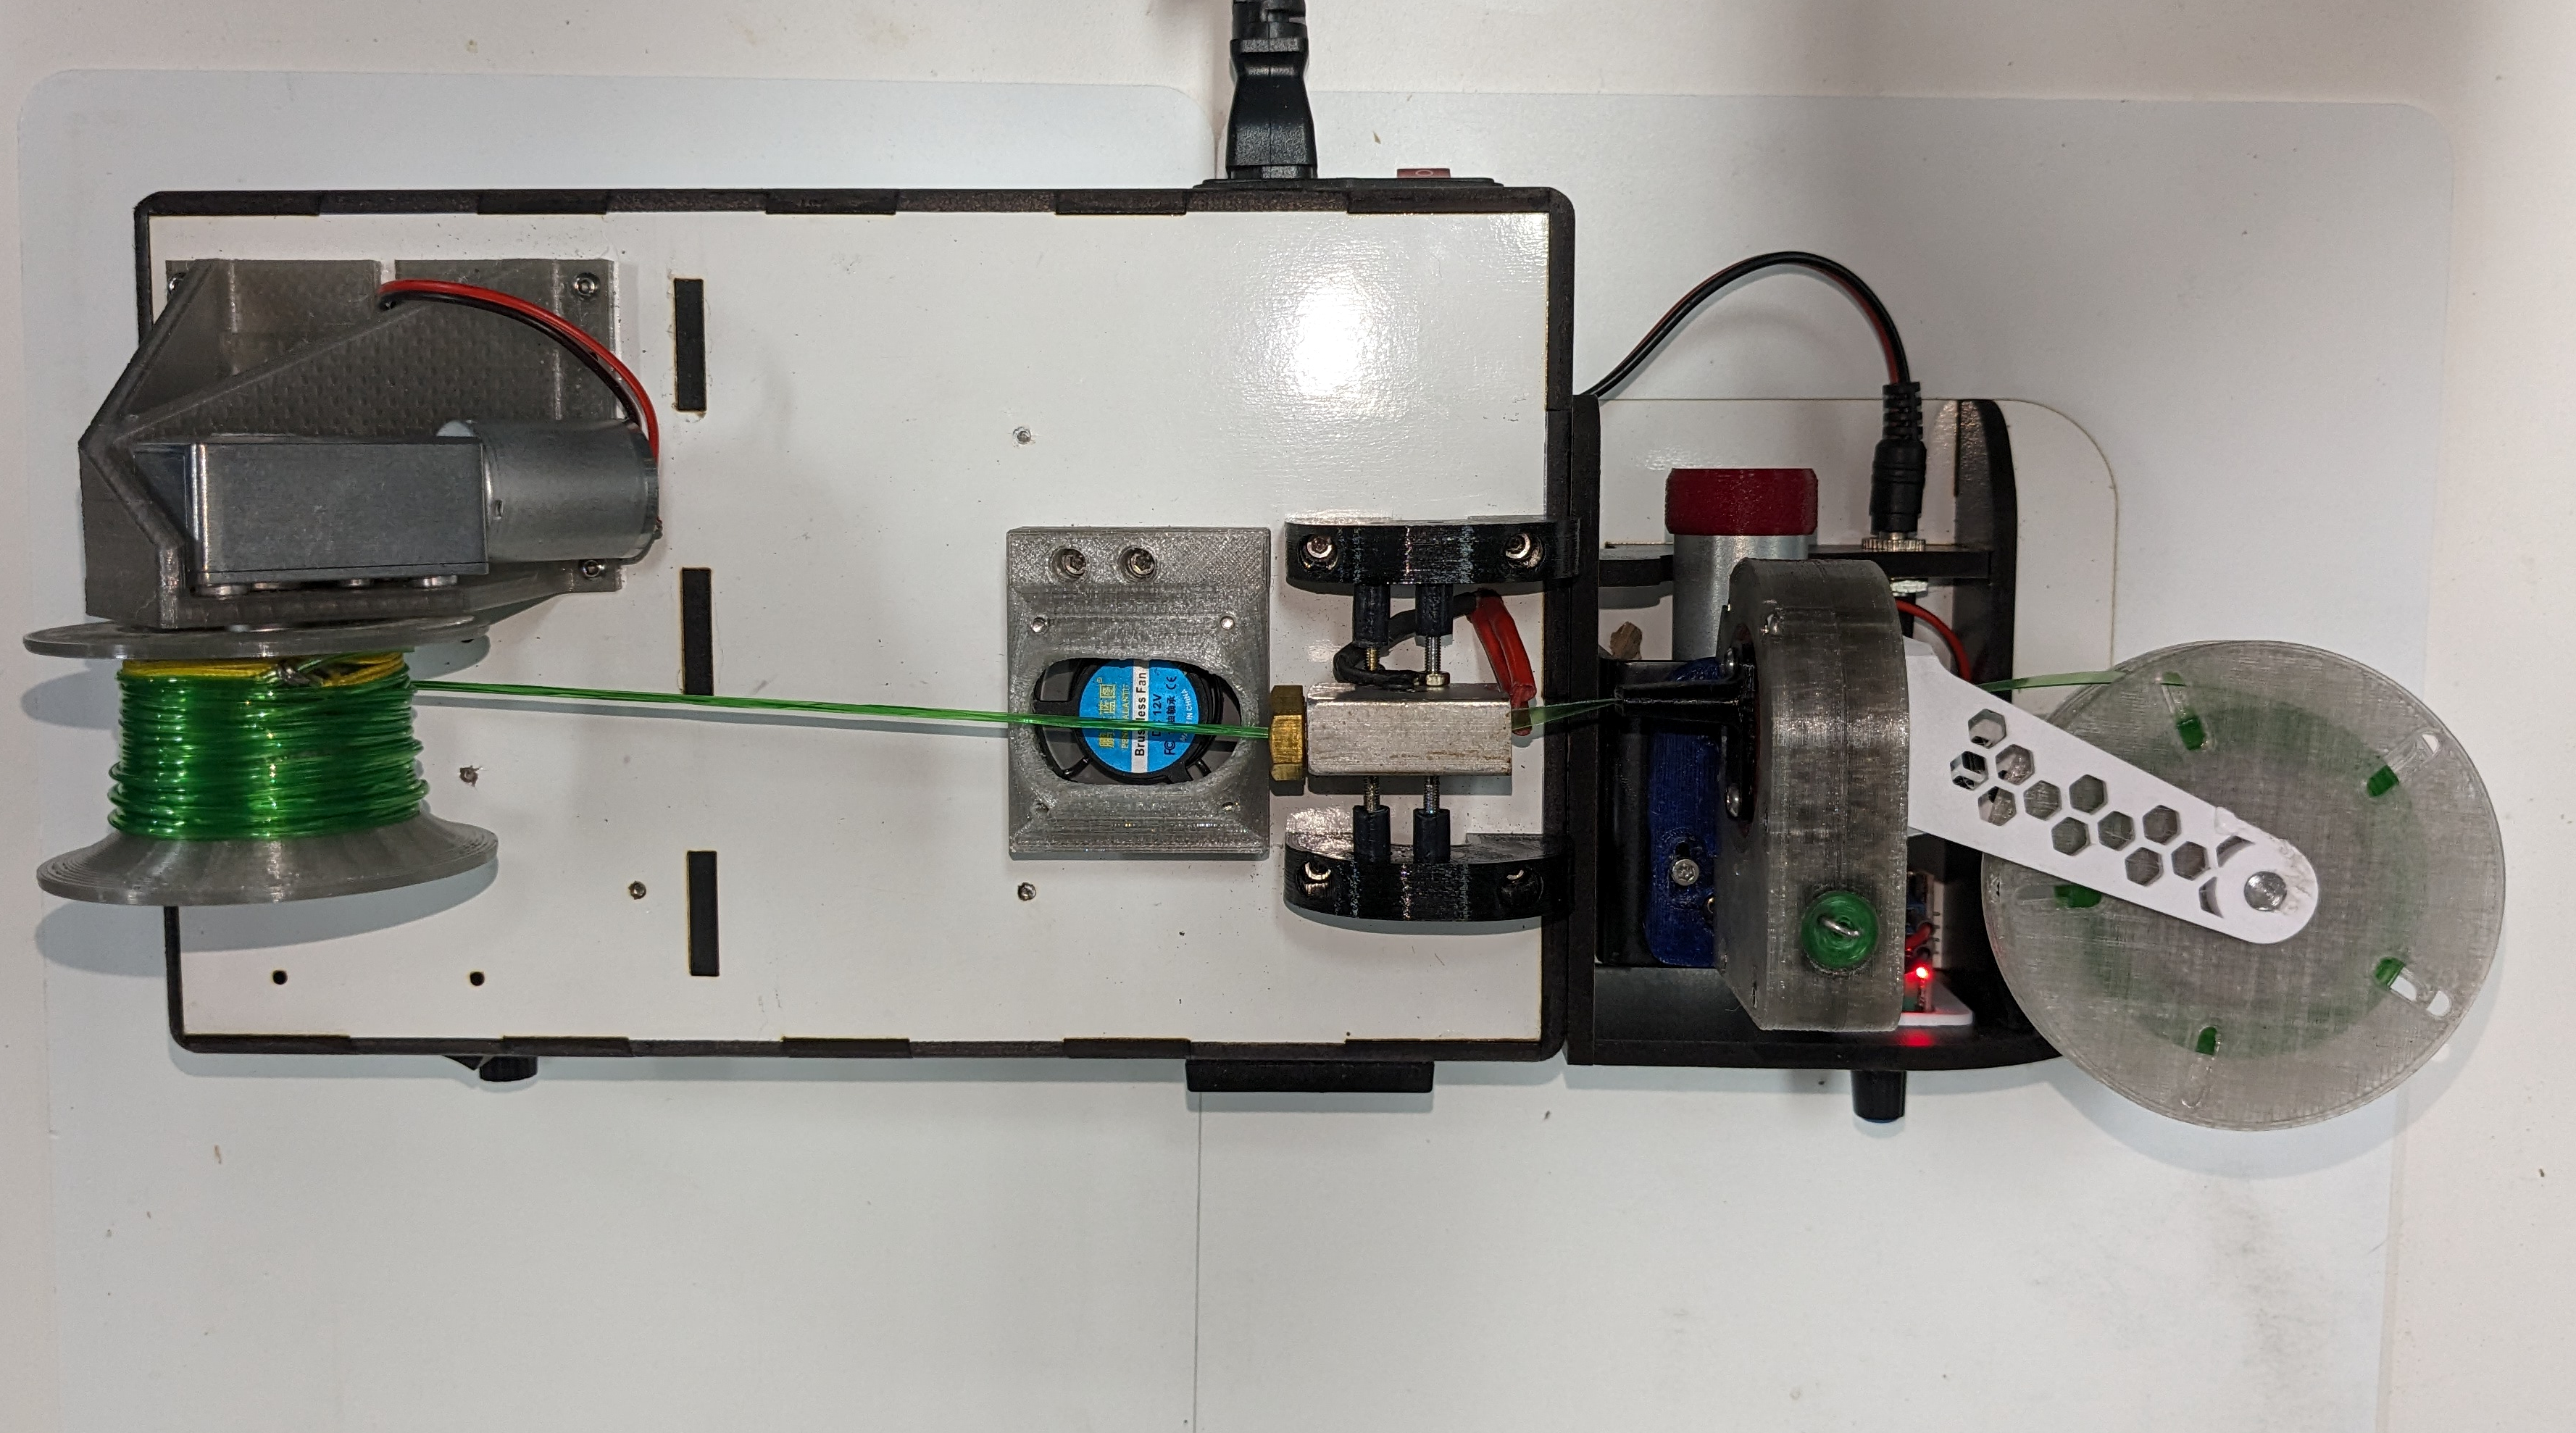
Videos: Complete process | Winding | Filament Spinning | Roll Forming
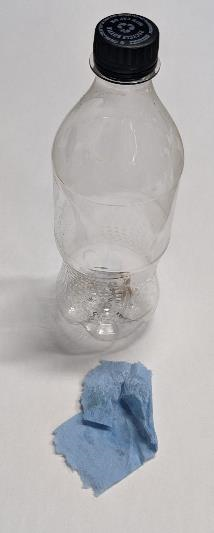
Bottle Cleaning
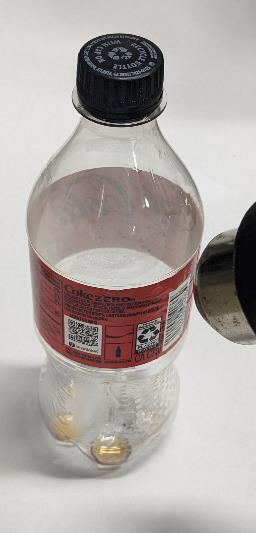
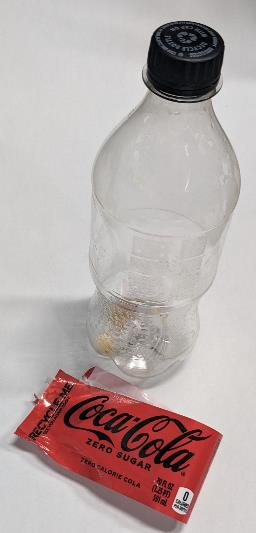
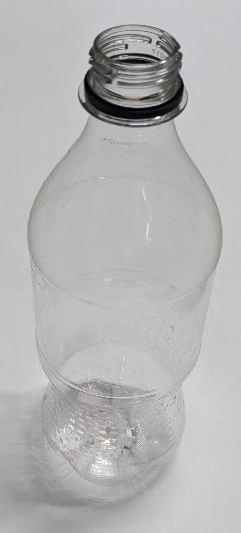
Bottle Modification
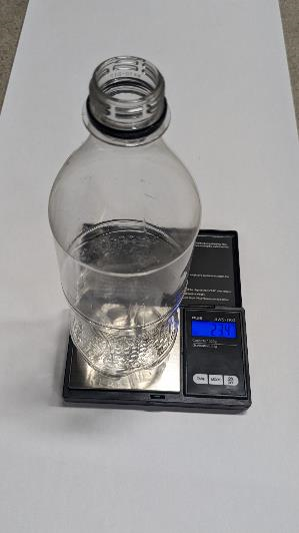
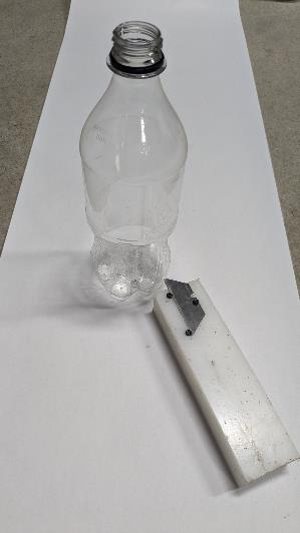
Ribbon Slicing with Bearings
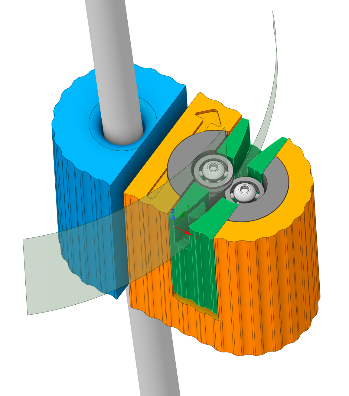
Ribbon slicing is generally performed using a knife blade offset from a surface OR two stacked counter-rotating bearings that create a single-shear cutting action.
The bearing method works on many bottle textures and thicknesses and doesn’t tend to wander while cutting, which can make for inconsistent ribbon width.
The bottle passes over a long weighted rod that is inclined 5 degrees from vertical that assists in keeping the bottle aligned and feeding into the bearings consistently. A cap fits over the bottle threads and keeps it concentric with the rod. I redesigned the slicer to use small V-bearings with sharper edges, creating higher cutting forces than the original design.
Ribbon Spinning
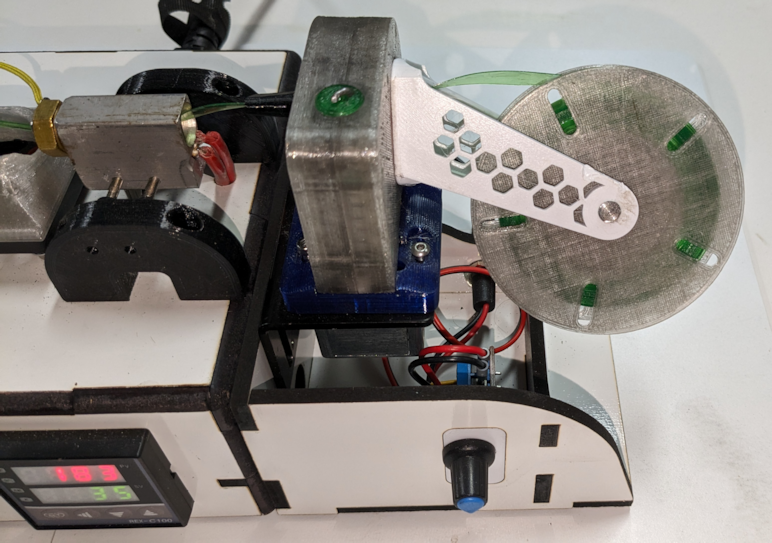
A 12V geared motor and speed control was used to power a worm and spur gearbox. The spur gear has a slot for the ribbon to pass through. An offset input spool is attached to the spur gear to keep the ribbon from tangling. Spinning at 5rpm tends to produce the best filament.
Filament Gripper
The filament is very stiff after it's pulled out of the hotend and past the cooling fan, making it hard to attach to a cord without snapping the filament or bending it and making it unusable for printing later on.
A thin cord bridges the gap from the spool to the hotend to initiate the pulling process. Otherwise, it would require manual pulling to make up the 15" path between the hotend and the spool.
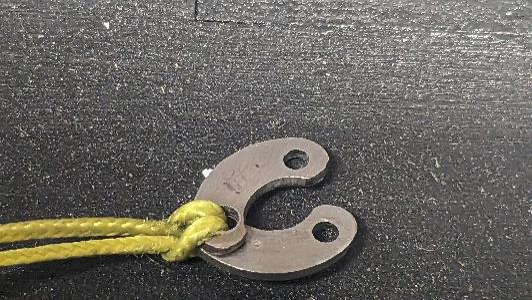
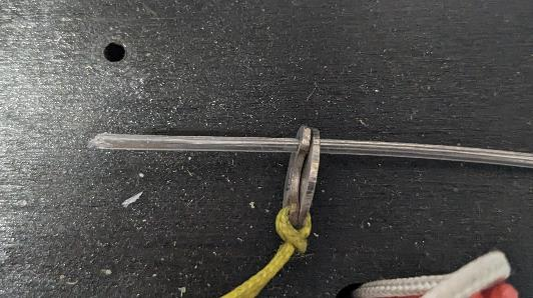
I devised a "clutch clamp" based on some woodworking clamps. It starts with a washer and cutting it into halves and match-drilled 2mm holes on both ends. The sharp edges were rounded off; then, the two parts were attached to the cord as shown. The filament is then threaded into both open holes. Under tension, the clamp will create a shearing effect that grips the filament very well with minimal filament bending.
Filament Joining
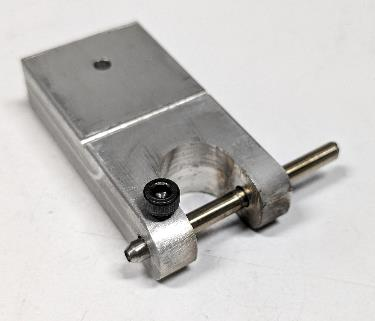
Joining PET requires a specific jig to align the loose filaments and can tolerate the high temperature needed to fuse them together. A metal tube creates an alignment device for the filaments and acts as a conductor and insulator to maintain the temperature since PET cools down more rapidly than PLA or PETG.
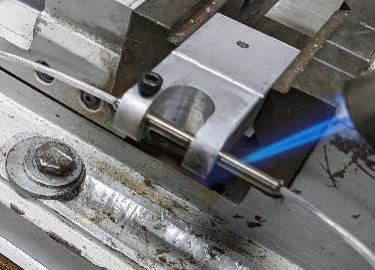
The jig consists of a steel tube (3.5mm OD and 1.8mmID, drilled out with a #49 drill bit) with the ends tapered to help clean off any bits of plastic that may jam the extruder. The tube is mounted in an aluminum holder, which acts as a heatsink and can be clamped in a vise. The tube is offset to allow the exposed end to be heated rapidly with a butane torch so the PET can reach 300C for just enough time to create a solid joint. Then it will rapidly cool down so the rest of the PET in the tube doesn't melt.
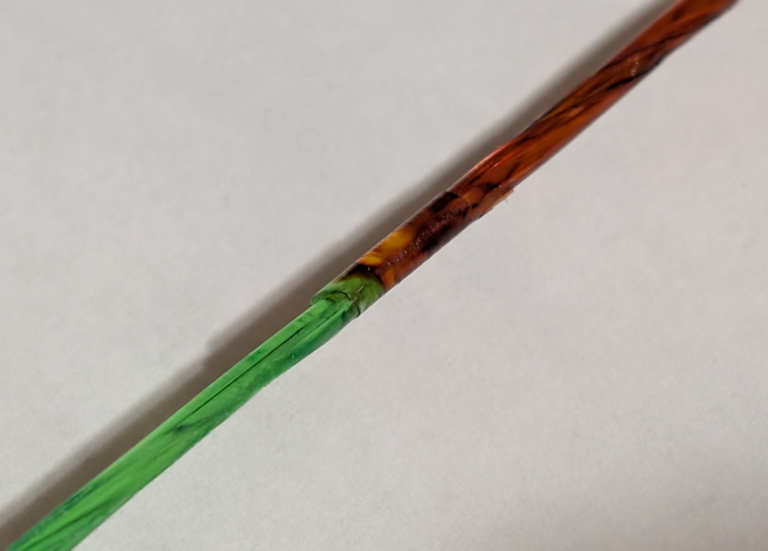
The filament will quickly reach temperature and must be forced together before it cools. After completely cooling, you can pull the filament free and slide it to the next joint. The process will take some trial and error to time the heating required to create a joint. If you heat it too long, the PET will ooze out the end.
Filament Dyeing
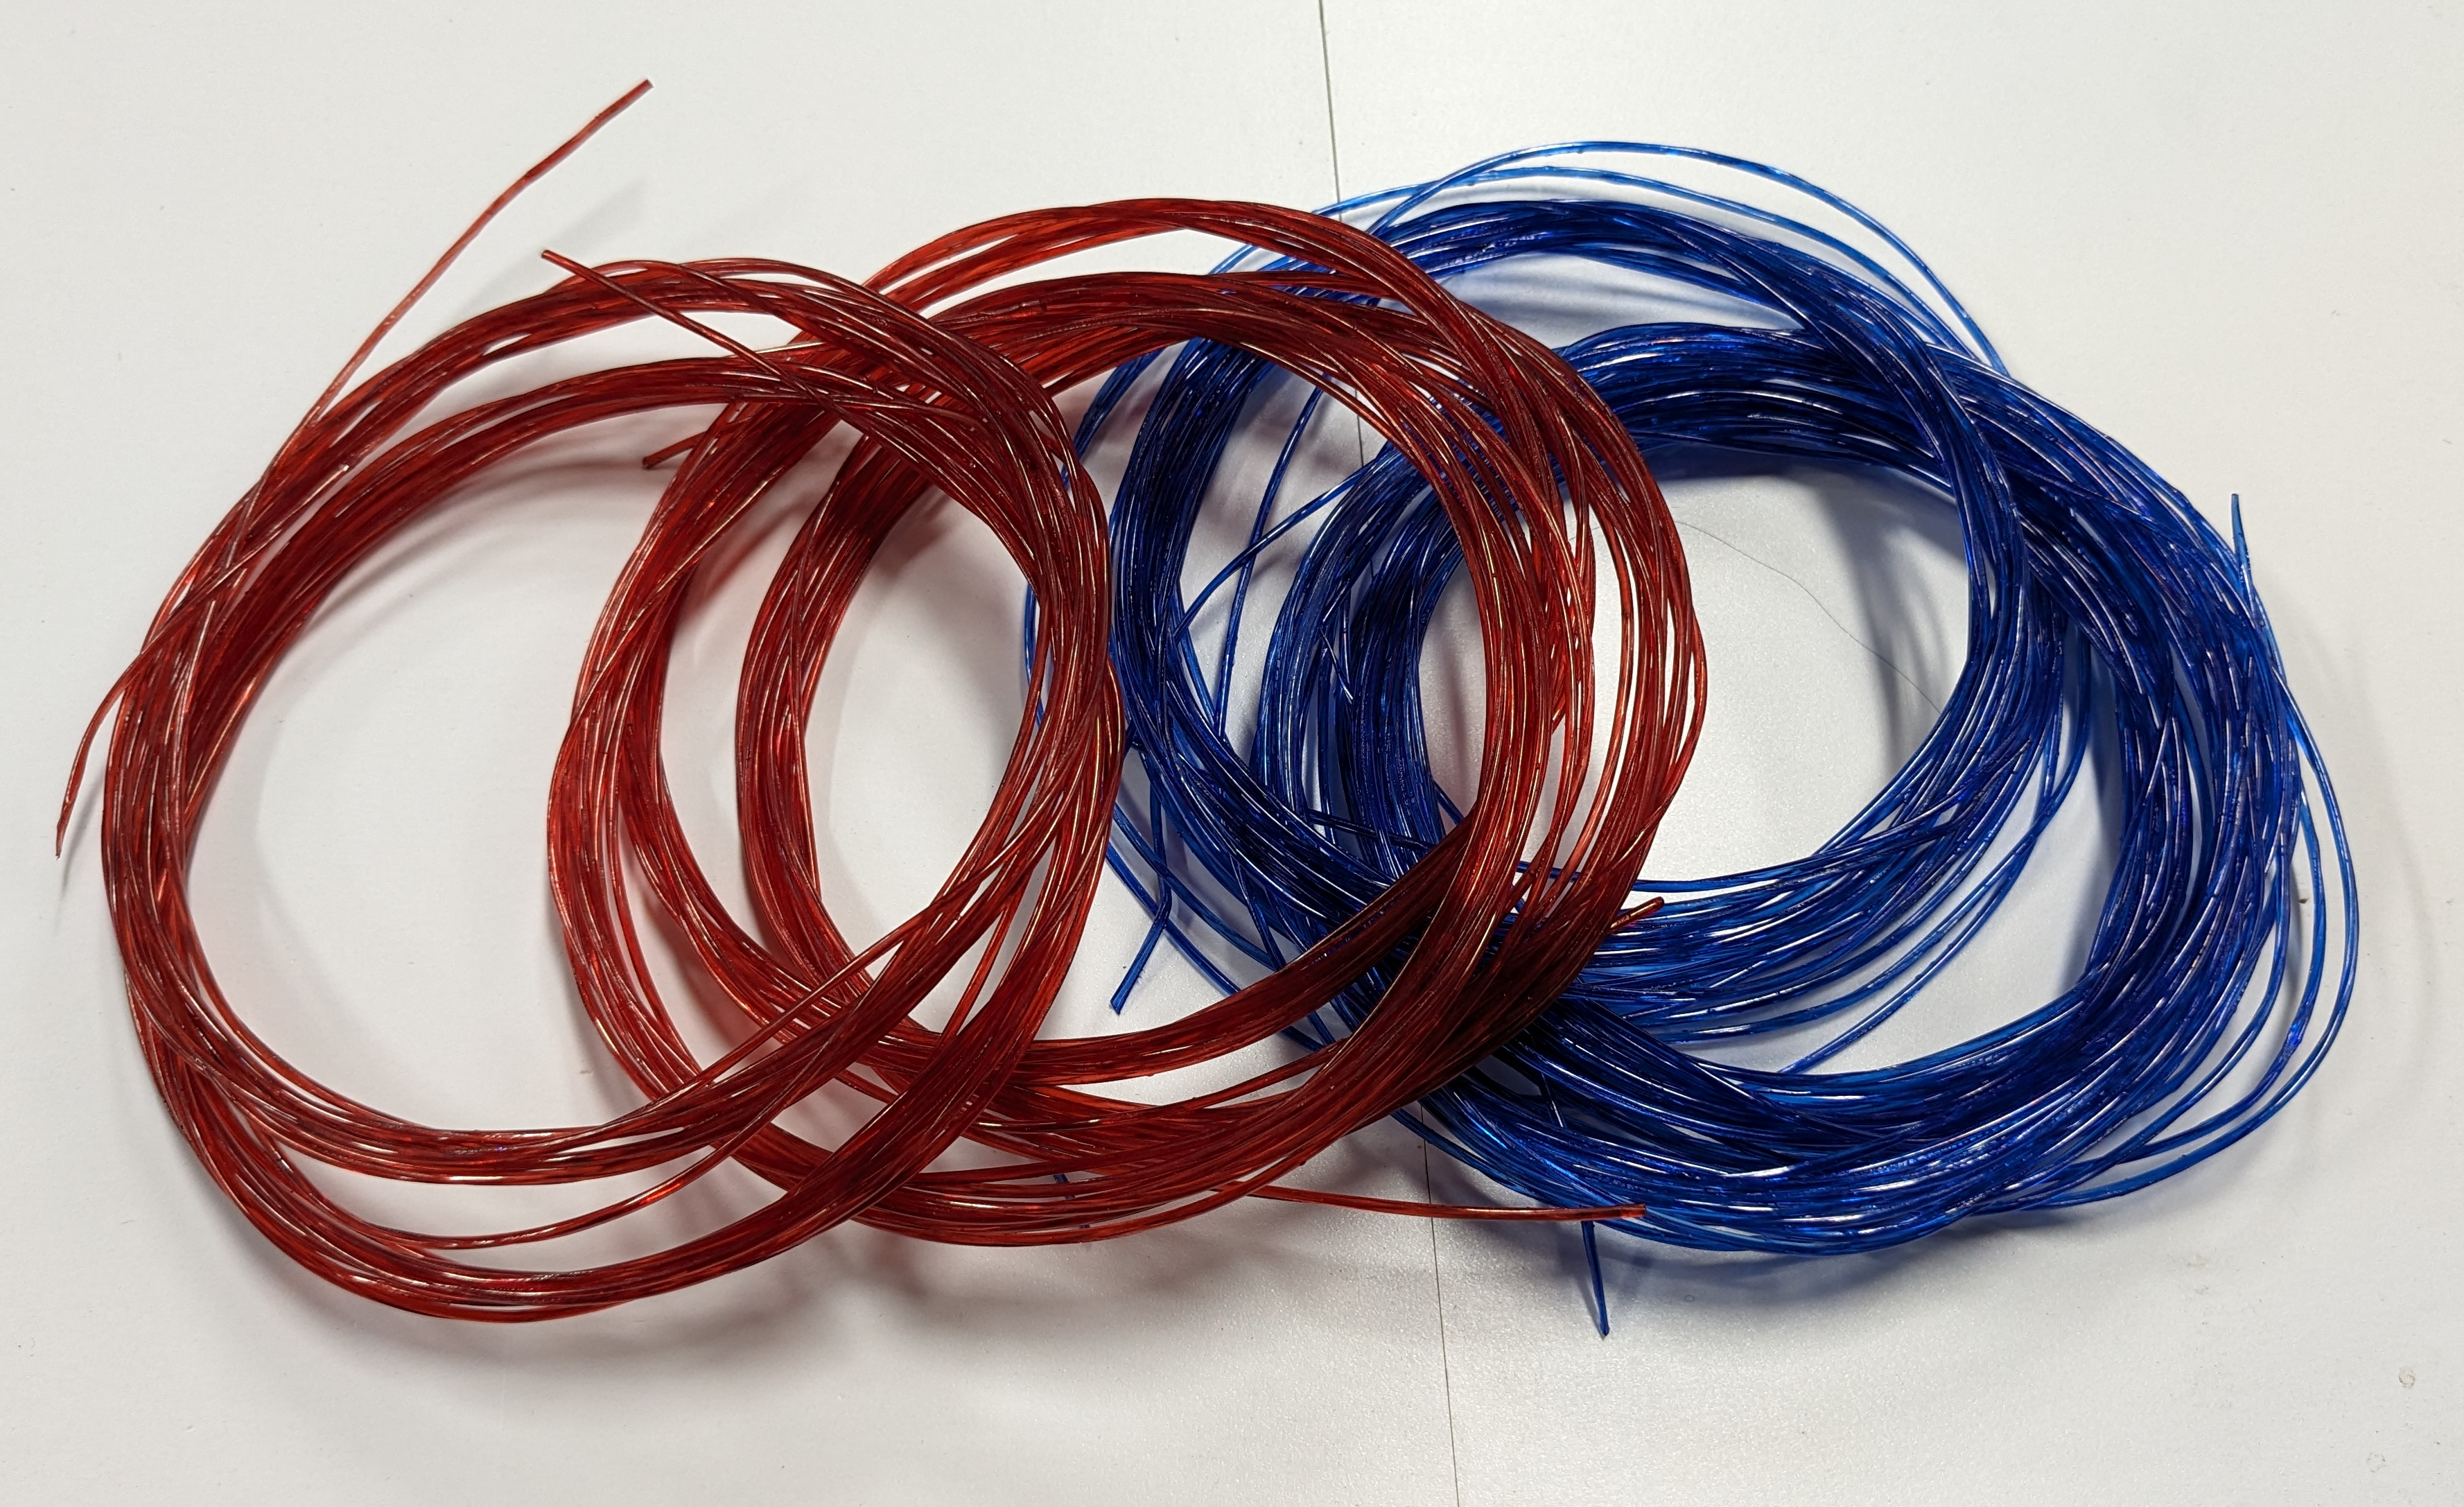
Dyeing PET is possible, but requires a very specific polyester dye. Standard cotton fabric dyes will not work. The following recipe provides the most vibrant true-to-life colors.
- 3 oz Rit Dye More polyester dye
- 8 cups Water
- 3 drops Detergent (promotes more consistent and vibrant colors)
- Simmer for 12 mins at 210F, 10 coils (bottles) per session.
- Set the coloring by soaking the filament in cold water until it runs clear.
- Note: Add 1 oz of dye for every 10 coils after the initial dye solution.
Allow the filament to thoroughly dry before using. Using a filament dryer is recommended.
Bottle Details
| Brand | Canada Dry | Propel | Diet Coke | Mt Dew | Dr Pepper Zero | Coke | Mt Dew | Dr Pepper Zero |
|---|---|---|---|---|---|---|---|---|
| Size | 2L | 24oz | 20oz | 20oz | 20oz | 1/2L | 1/2L | 1/2L |
| Material | PET | PET | rPET | PET | PET | PET | PET | PET |
| Color | Green | Clear | Clear | Green | Clear | Clear | Green | Clear |
| Thickness (mm) | 0.25 | 0.25 | 0.20 | 0.25 | 0.25 | 0.25 | 0.25 | 0.25 |
| Raw Weight (g) | 42.6 | 25.3 | 18.9 | 20.9 | 21 | 19.2 | 21 | 21 |
| Bottom (g) | 11.01 | 4.48 | 3.22 | 4.1 | 3.35 | 3.48 | 2.47 | 3.01 |
| Top (g) | 6.44 | 5.92 | 5.46 | 5.61 | 5.3 | 5.71 | 5.88 | 5.45 |
| Trimmed (g) | 0.60 | 0.31 | 0.34 | 0.38 | 0.49 | 0.35 | 0.32 | 0.43 |
| Total Removal (g) | 18.05 | 10.71 | 9.02 | 10.09 | 9.14 | 9.54 | 8.67 | 8.89 |
| Net (g) | 24.55 | 14.59 | 9.88 | 10.81 | 11.86 | 9.66 | 12.33 | 12.11 |
| Length (m) | 9.30 | 5.49 | 3.66 | 4.27 | 4.27 | 3.96 | 3.96 | 3.96 |
| Length (ft) | 30.5 | 18 | 12 | 14 | 14 | 13 | 13 | 13 |
Summary
| item | metric |
|---|---|
| water | 8oz |
| Solvents / Soaps | 1 drop/each |
| Paper Towel | 3 in2 |
| Energy rate (heat and motors) | 43 Watt-hr measured by a Kill-A-Watt meter |
| Human time Cleaning/slicing/spooling | 5 mins |
| Process Time | 14 mins (5.8 sec/in of filament) |
| Re-use percentage | 38% |
| Cost @ 12 cents/kWh | $.00162 or five 20oz bottles for a penny |
The filament is very usable and feeds reliably through the printer's extruder. Once calibration was performed to determine the extrusion multiplier to account for the hollow filament (about 10-23% higher), the printed parts appeared similar to those made with commercially purchased filament. The machine cost about $50 using AliExpress parts, printed parts, and many shop supplies.
Time is the biggest drawback since the process is single-flow, and each ribbon needs to be reloaded manually every 14 minutes. Using larger bottles would help with the time issue, but 16-20oz bottles were used for this experiment due to their prevalence. Also, there isn't a way to pre-join multiple ribbons without destroying the ribbon cross-section needed for roll-forming.
BONUS: PET material is extremely strong and more rigid (semi-crystalline) than PETG (amorphous), making it better for smaller parts that would ordinarily require more material to compensate for the reduced stiffness. This makes processing the material advantageous since it provides attributes not found in common FFF materials.
If you have the time, it's a viable process.